Water balloons are fun… BUT the prep (super sore fingers from tying) and
clean up (finding all the tiny rubber pieces) is not as much fun as the few
minutes of joy when throwing them. So, sponge bombs are an awesome
alternative! There is still prep involved, but only the first time. Then you just use them over and over with EASY clean up!
What you need:
- Scissors
- String (I used a string from Joann Fabrics that is thicker than embroidery floss but thinner than twine.)
- Sponges (I bought the ones sold in packs of 4)
- How many do you need?? 2 sponges make 1 bomb
- Bucket for storage
Let’s get started:
**Some “steps” are not needed, but I added them in so Madelyn could be
part of the process.
- Open all the sponge wrappers and put into a container… or pile.
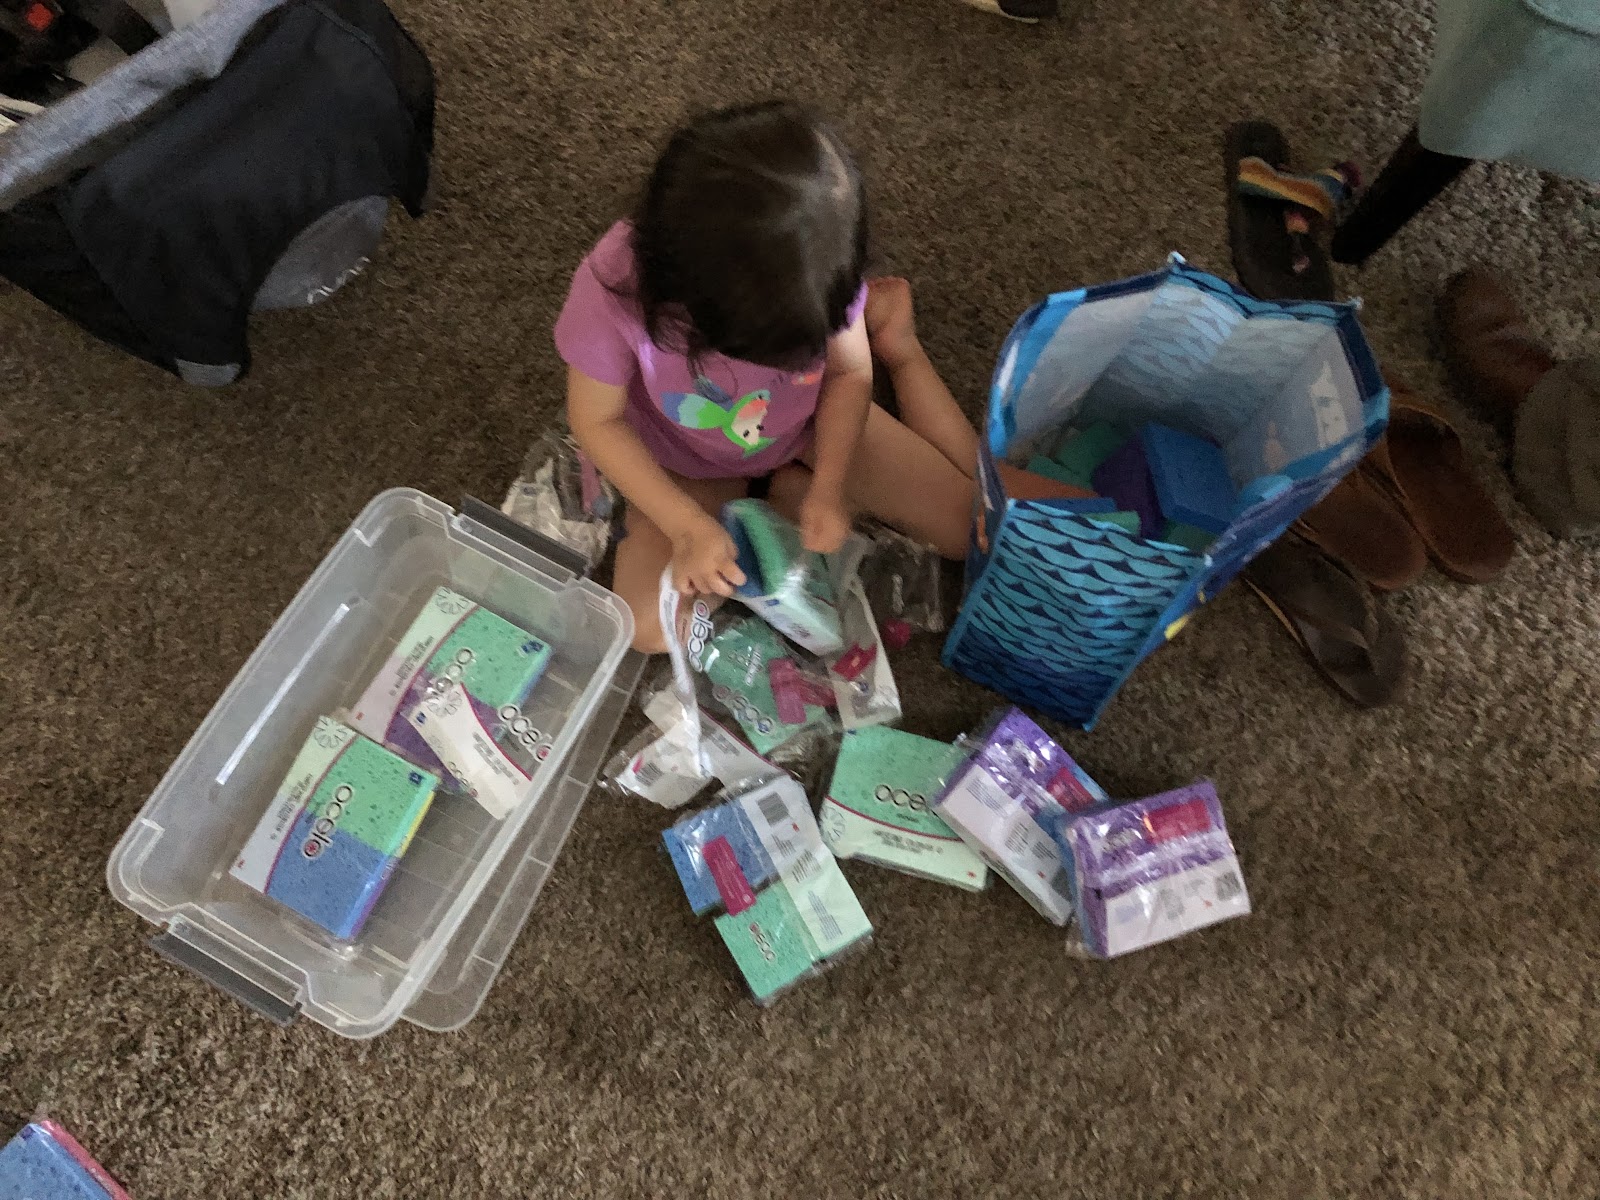
- **Have a toddler hand you the sponges. Cut the sponges into thirds.


Madelyn was a great helper! The pic is blurry because she is moving so fast to help, ha!
- **Sort the sponges. This is great practice for tots. I also wanted color
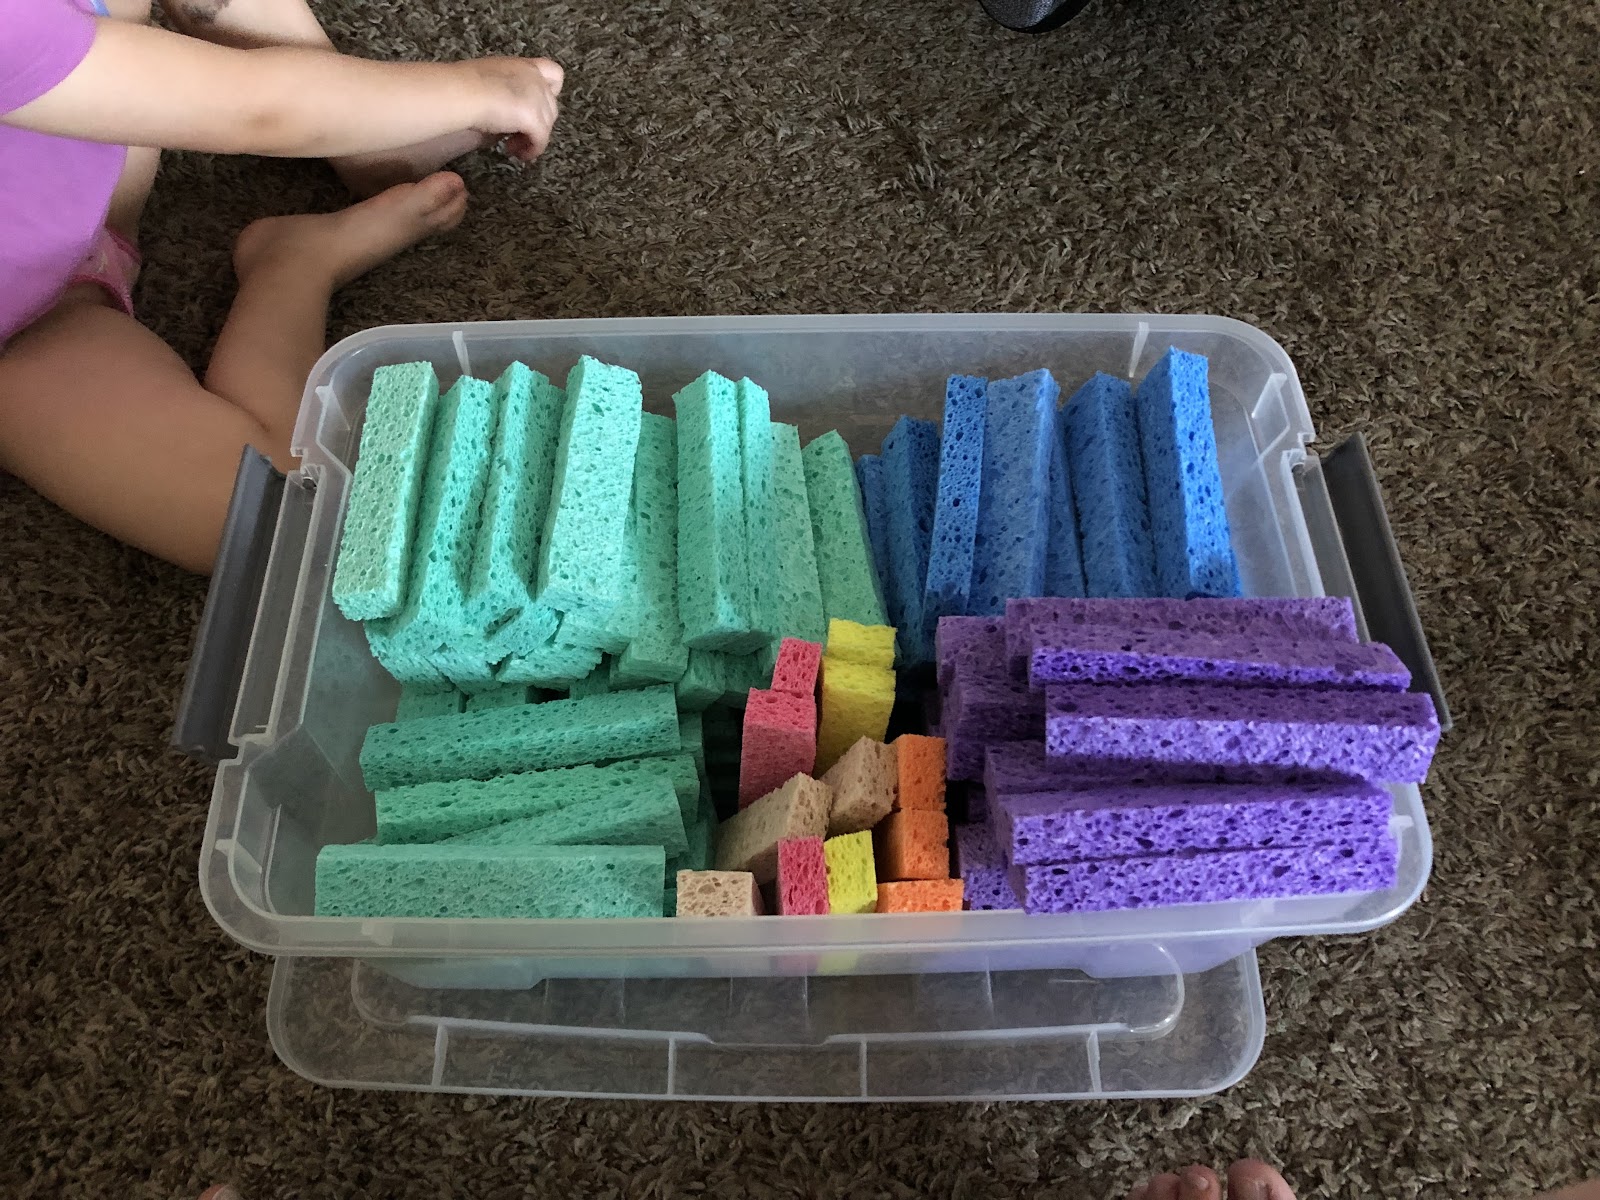
There were WAY more green sponges in our haul, so I used at least 2 in each bomb.
- Line up 6 pieces; 3 stacked on top of three. Have the string underneath.

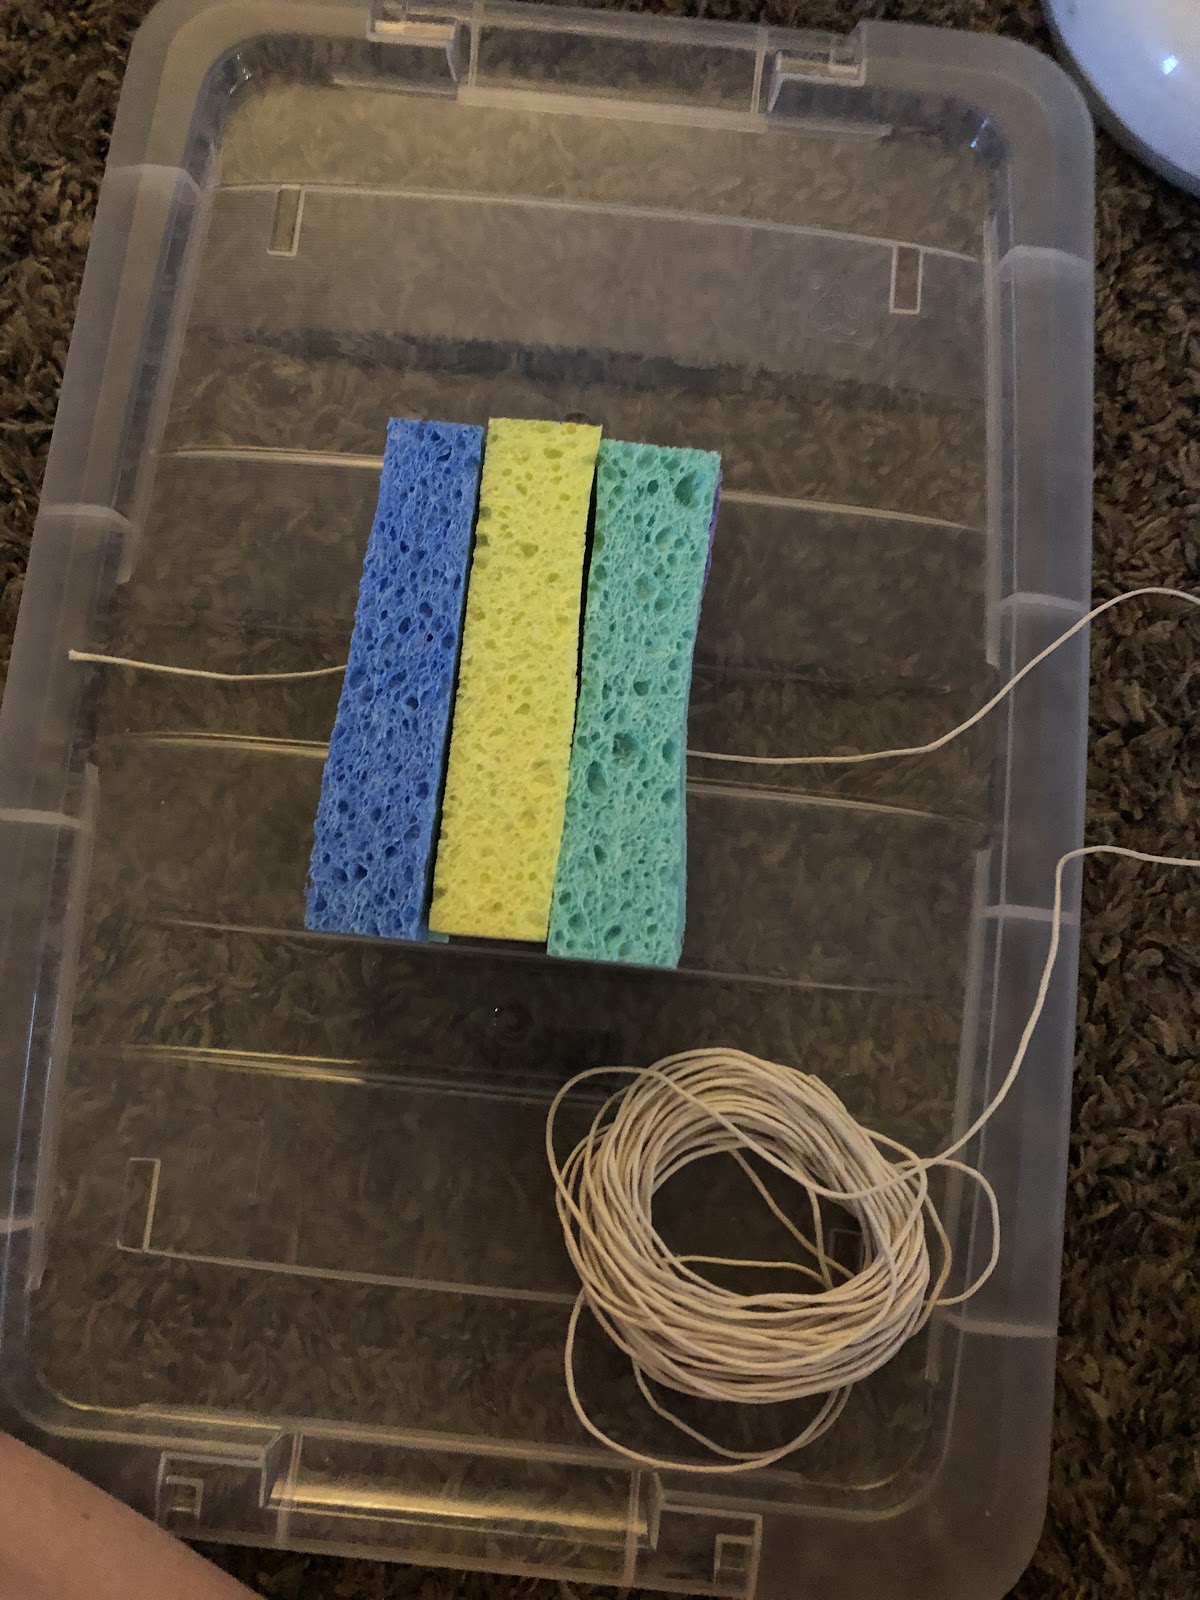
I didn’t like how the embroidery floss (brown) pulled, so I bought other string (cream)
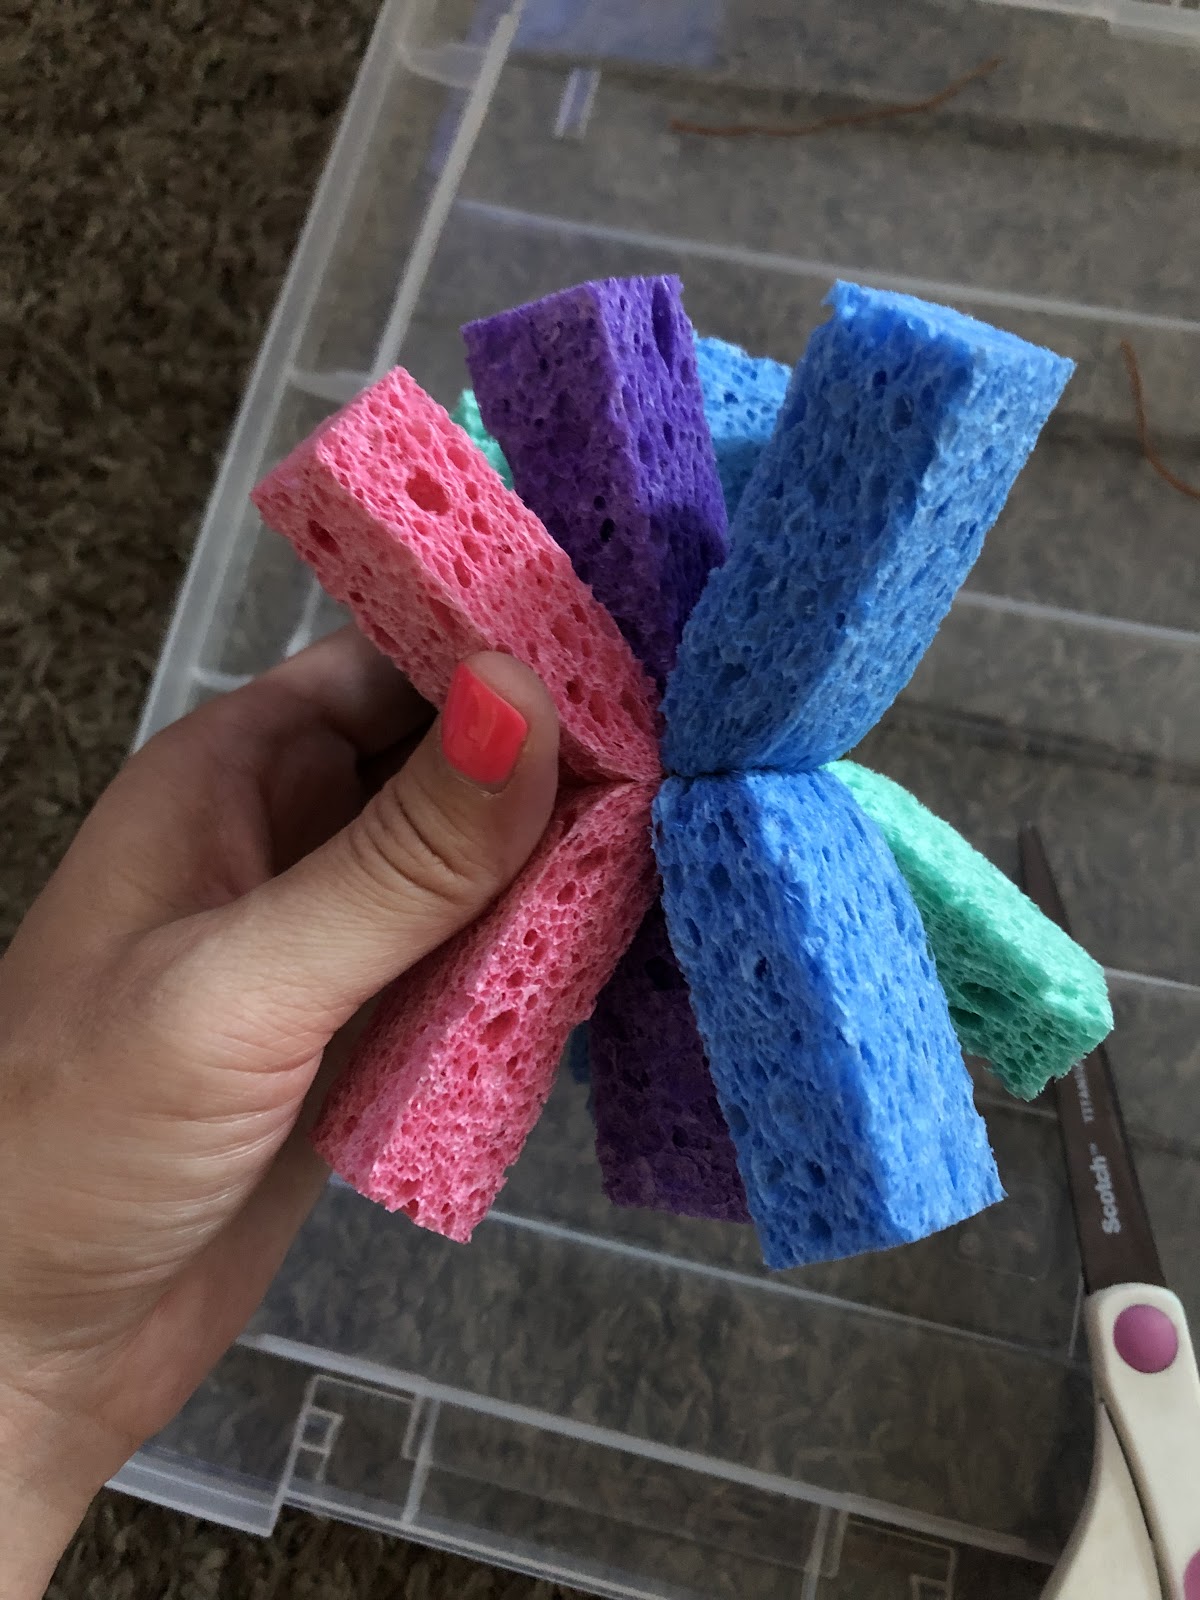
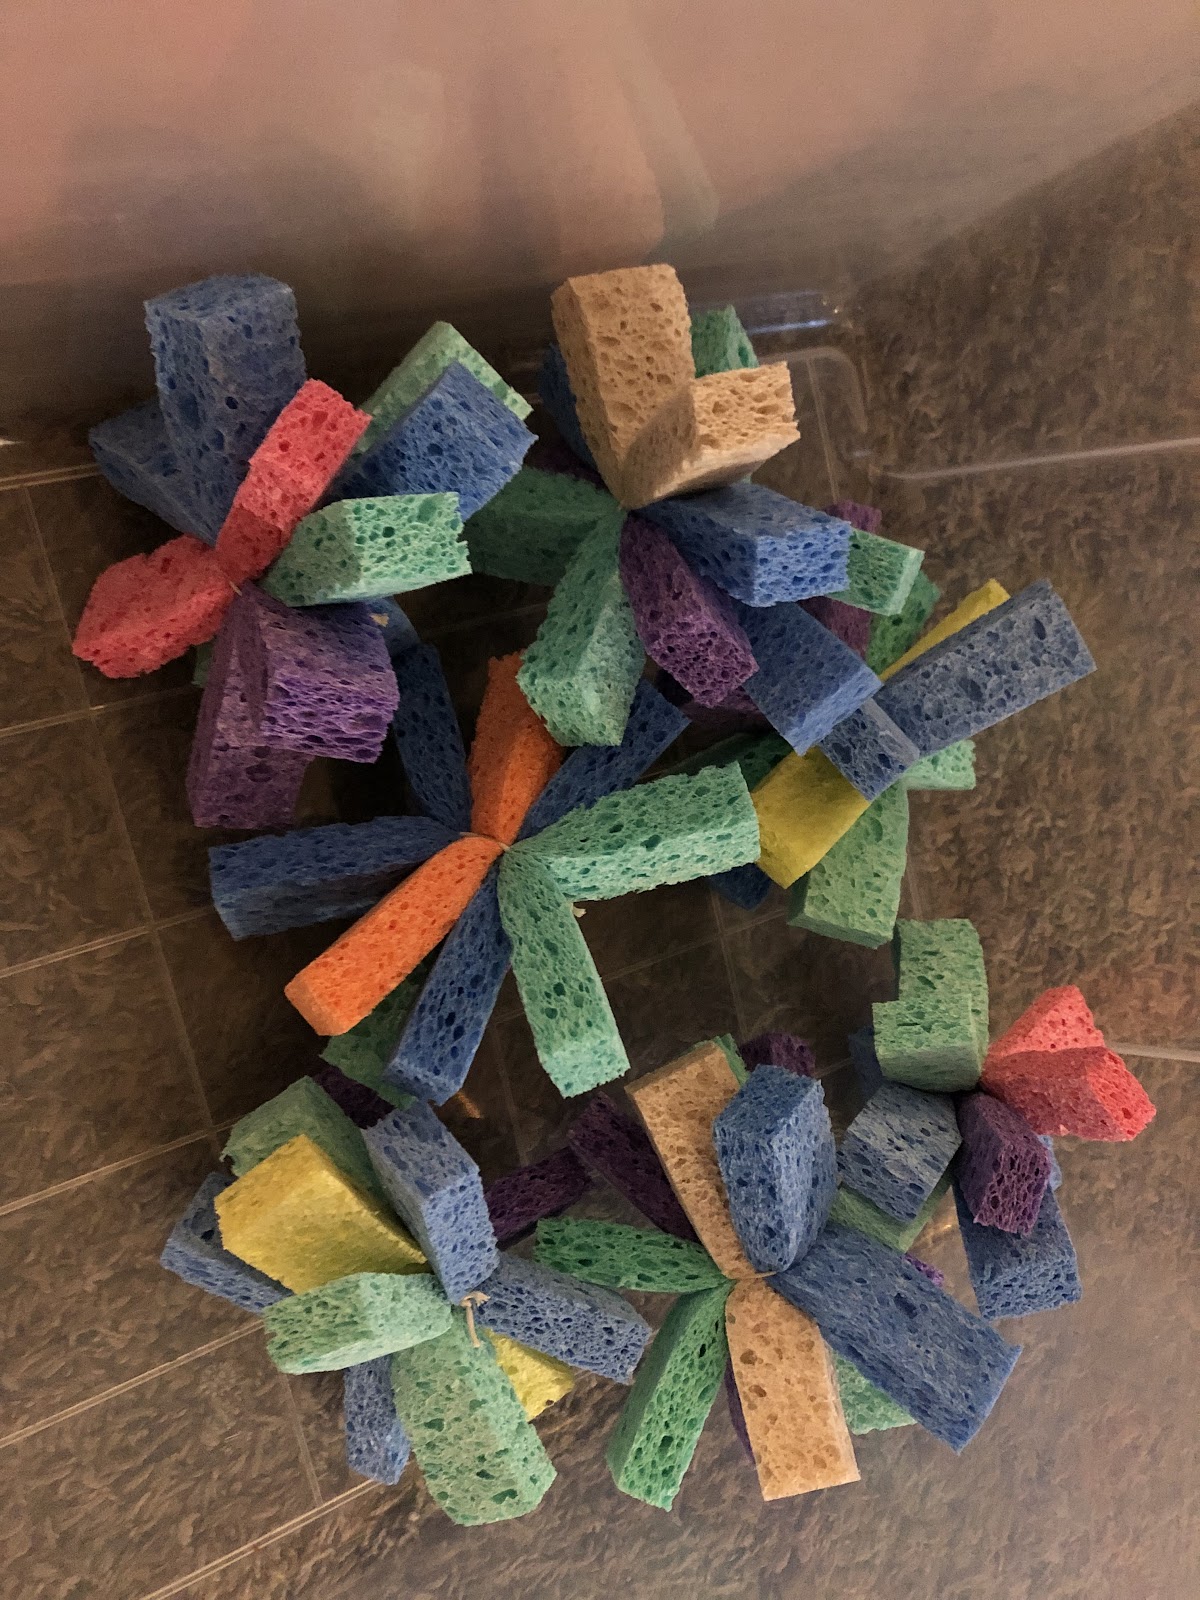
- Pull as tight as you can. Having a long tail and just cutting it off later was

- Ta Da! You’ve got your first sponge bomb! Now repeat until you’re out of sponges!
No comments:
Post a Comment